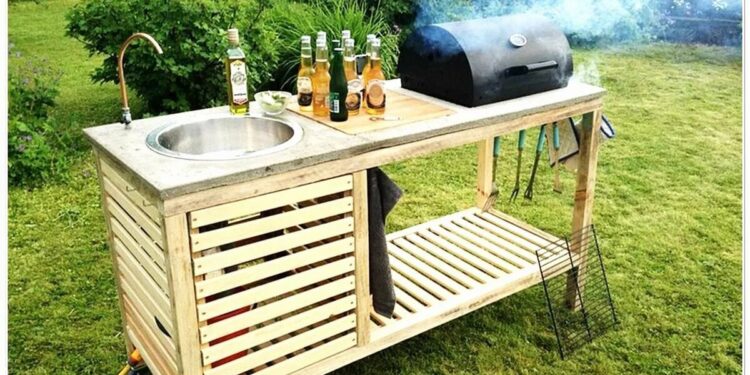
Do you have a terrace and still don’t have a barbecue? If brick barbecues seem complicated to you or you don’t have enough space, you can’t miss this step-by-step tutorial. In a few hours, you can build your own custom DIY barbecue to adapt it and make the most of the exterior of your home.
The unmistakable flavor of grilled meat and vegetables makes it always a good time to organize a DIY barbecue with family or friends. If you still don’t have yours, in this tutorial we suggest you build a barbecue simply and quickly.
tools and materials
- Table saw, miter saw, or jigsaw
- Screwdriver
- Pliers
- 2 MDF boards 120 x 60 x 1 cm
- 5 Slotted Shelf Angles 200 x 3.5, x. 3.5cm
- 8 galvanized shelf brackets
- 4 plastic feet
- 4 ceramic tiles 45 x 45 cm
- Screws with nut M8
- Double-sided mounting tape and/or mounting adhesive
- grouting putty
- Brush
- exterior paint
- portable charcoal barbecue
- barbecue utensils
- organizer hooks
Cost, duration, and difficulty
If you have the necessary tools, the approximate cost of the materials is €60. In the following link, you can access the ManoMano shopping basket in which some of the tools and materials used have been included. You can also find barbecues on their website that can inspire you or adapt to your needs.
On the other hand, the execution time is about 4 hours, so you will need a morning or afternoon to build it. In addition, its level of difficulty is easy, since it requires the use of tools whose handling is usually common when you have little practice doing DIY tasks.
DIY barbecue step by step
To build this DIY barbecue, slotted aluminum profiles, MDF shelves, and ceramic tiles have basically been used. These materials make it heat and weather-resistant construction. It is also robust, but the light at the same time, making it easily transportable.
Its dimensions are ideal for medium-sized barbecues and it has space to place plates, utensils and to store charcoal or firewood. The steps that have been followed for its construction are detailed below.
Reading suggestions; Organize garden
1 Cut the pieces
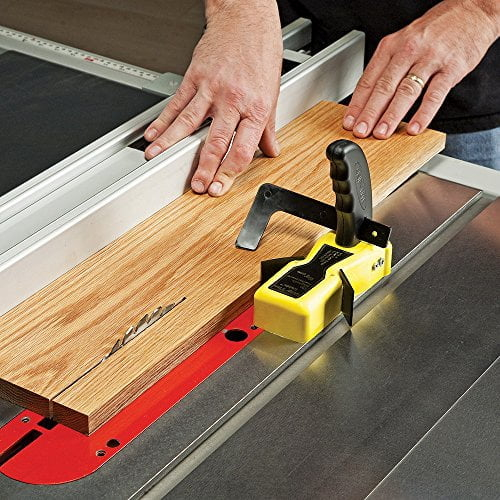
First, the MDF boards and slotted aluminum angles will be cut. A table saw and a miter saw with a multi-material blade have been used for this, but the same cutting task can be performed with a jigsaw with one blade for cutting wood and one for cutting metal. The parts that will be needed are:

- 2 MDF boards 90 x 45 cm
- 4 angles of 90 cm long for the upper and lower shelf, 4 angles of 77 cm for the legs, and 4 angles of 45 cm for the upper and lower side
An alternative option to avoid having to cut the pieces would be to directly acquire a metal shelf with 2 or 3 shelves.
2 Screw the angles
The angles will then be screwed together to build the frame. For this, screws with nuts will be used that will be tightened with the help of the screwdriver and pliers. The steps to follow are those:
- Join one of the 90 cm angles to the top of 2 of the 77 cm legs, using a galvanized square to prevent the structure from rocking.
- Carry out the same operation with the lower shelf, placing it 12 cm from the ground.
- Join the front and back with the 4 angles of 45 cm.
- Place the plastic feet on the bottom of the legs.
3 Place the shelves
The next step will be to attach the top and bottom shelves. To do this, the MDF boards will be fixed to the aluminum profiles with mounting adhesive or double-sided tape.
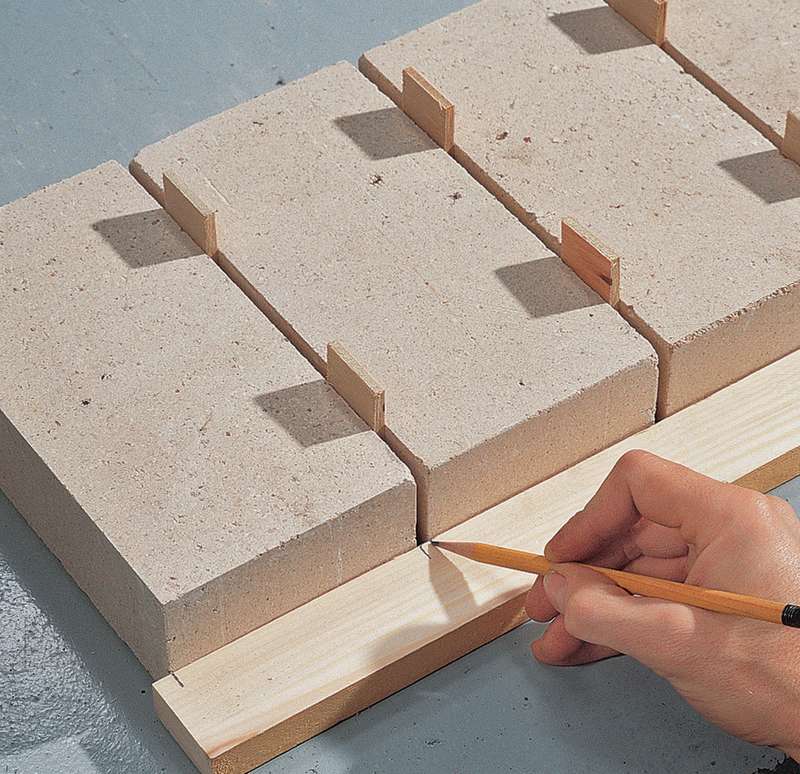
Next, the ceramic tiles will be placed, fixing them with assembly adhesive and the joints will be putty. After about 15 minutes, the excess putty will be cleaned with a damp cloth.
Finally, the edges of the shelves will be painted to make them more decorative and hide the union of the different materials.
After these steps, we will have finished the base and we will be able to place our portable barbecue on the upper shelf.
It should be noted that ceramic tiles, in addition to being decorative, resist heat and weather and are very easy to clean.
On the other hand, hooks can be inserted in the slots of the corners to hang the barbecue utensils and accessories and also have them always at hand. In addition, the lower shelf is ideal for storing charcoal and fire starters.
On the upper shelf, you can use the remaining space to place dishes and condiments to prepare the barbecue.


