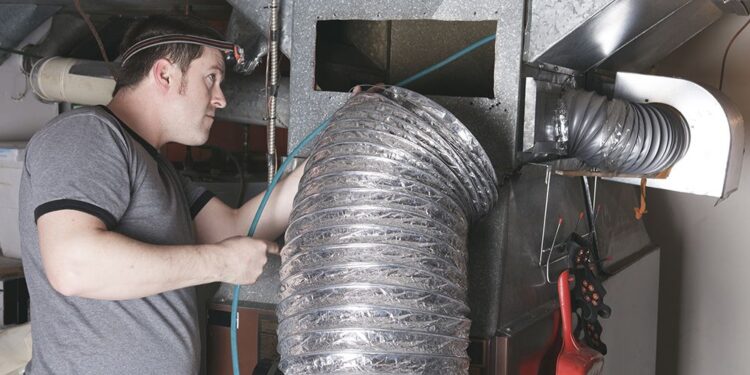
Having a well-functioning heating and cooling system is essential for any home. However, even with regular maintenance, ductwork can experience wear and tear over time. Damaged ducts can lead to inefficient airflow, decreased indoor air quality, and higher energy bills. Luckily, minor ductwork damage can often be repaired without professional help.
In this step-by-step guide, we will explain how to identify and repair minor ductwork damage in your home.
For more information on identifying and repairing damaged ductwork, check out this blog post.
Identifying damaged ductwork
The first step in repairing damaged ductwork is identifying the problem areas. Here are some common signs of ductwork damage to look out for:
- Holes or cracks: These can be caused by age, pests, or improper installation.
- Loose connections: Ducts are meant to be tightly connected, so any visible gaps or loose connections can indicate damage.
- Tears or rips: These can occur from sharp objects or regular wear and tear.
- Mold growth: If you spot mold growth on your ducts, it could be a sign of moisture damage and potential leaks.
If you suspect that your ductwork may be damaged, it’s essential to inspect all areas of your HVAC system thoroughly. This includes the main supply and return ducts and any branches and connections. Also, check for any odd smells or noises coming from your vents.
Repairing the damage
Once you have identified the damaged areas of your ductwork, it’s time to start repairing. Here is a step-by-step guide on how to fix common types of ductwork damage:
Holes or cracks
- Gather materials: For this repair, you will need foil tape, a putty knife, and mastic (duct sealant).
- Clean the area: Wipe the area around the hole or crack with a damp cloth.
- Apply mastic: Using a putty knife, apply mastic to the damaged area and cover it completely.
- Cover with foil tape: Once the mastic is dry, cover it with foil tape, pressing down firmly to ensure a tight seal.
Loose connections
- Tighten connections: Use a screwdriver to fasten any loose connections between ducts.
- Seal with mastic or foil tape: If tightening doesn’t work, use either mastic or foil tape to seal the connection.
Tears or rips
- Clean and flatten the area: Clean the area around the tear and flatten out any rough edges using pliers or a hammer.
- Apply mastic: Using a putty knife, apply mastic to the tear and smooth it out evenly.
- Cover with foil tape: Once the mastic is dry, cover it with foil tape for added reinforcement.
Mold growth
- Clean with bleach solution: Mix equal parts bleach and water in a spray bottle, then use it to thoroughly clean the moldy areas.
- Let dry completely: Allow the cleaned area to dry completely before moving on to repairs.
- Follow the steps for holes or cracks or tears or rips.
Prevention tips
To minimize the chances of ductwork damage in the future, here are some preventative maintenance tips to follow:
- Regular inspections: Schedule annual inspections to catch any damage early.
- Keep vents clean: Regularly clean and vacuum your vents to prevent clogs and blockages.
- Change air filters: Change air filters every 1-3 months to improve airflow and lessen the strain on the ducts.
If you are unsure about the extent of the damage or feel uncomfortable making repairs yourself, it is always best to consult a professional HVAC technician. They can properly evaluate the situation and recommend the best course of action for repairing damaged ductwork in your home.
Conclusion
Whether it’s minor holes or major leaks, timely repairs and proper maintenance can ensure your ductwork operates efficiently. Following this guide will help you easily identify and repair minor ductwork damage in your home, saving you time and money in the long run.
Remember that prioritizing regular inspections and maintenance helps prevent future damage and ensures a comfortable living environment for you and your family.


