When it comes to computers, Macs are the preferred choice of tons of users, primarily due to the top-tier features and functionalities Apple’s range of computers offers. Besides this, there are numerous other reasons why Macs are preferred over its other competitors. According to Crucial, Apple’s customer service is better than the majority of other PC manufacturers. Moreover, Macs’ powerful operating system, namely macOS, offers an aesthetic feel and top-notch apps and utilities that make the user experience top-tier.
Besides featuring the best-in-class internal components, Macs come equipped with lightning-fast SSDs, which not only add to the device’s performance but also make it easier for users to store and manage digital files seamlessly. However, despite having top-tier components, even Macs start getting slower after years of continuous usage.
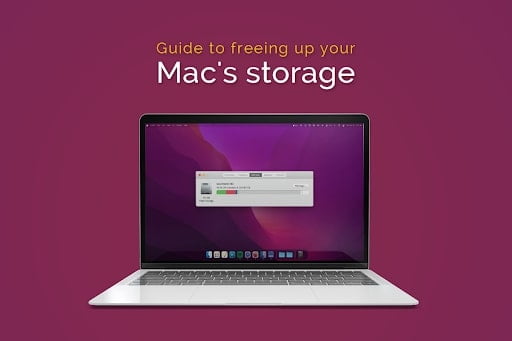
One of the factors that negatively affect Macs is a space-deprived local storage component. Thus, every macOS user should clean their Mac’s local drives to ensure their device’s performance stays top-notch for a longer time. This article will list down some effective methods using which macOS users can easily clean their device’s internal storage without the hassle:
Get Rid of Unnecessary Applications
Mac’s App Store offers thousands of top-tier applications, each of which facilitates users to use their Mac’s capabilities to the fullest. Besides this, users also have the option to download power-demanding applications and use them on their Mac without any stutters or lags. However, even though Macs pack in top-tier components that offer massive power, having too many data-demanding applications can significantly tarnish the device’s performance.
Moreover, having too many apps installed on a Mac’s hard drive will not only occupy a large portion of the overall hard drive space but also make it harder for users to navigate between applications. Hence, if a user’s Mac is exhibiting a slow and laggy performance, one of the most effective ways of enhancing its performance is to uninstall unnecessary applications.
If you are a macOS Sierra or higher user who wishes to uninstall applications on your Mac, you can get the job done using the native storage management tool. To do so, click on the Apple icon in the in-built menu bar, click on the “About This Mac” option and navigate to the “Storage” section.
Then, click on the “Manage” option and click on the “Applications” option. From here, you can easily uninstall any application from your Mac. Besides opting for the native method of uninstalling apps on your Mac, you can also choose to use a third-party tool or application like CleanMyMac or App Cleaner to get the job done.
Reading Suggestion: Retro Bowl Unblocked
Compress Files
Compressing or archiving multiple files into a single file allows users to easily manage files and save storage space. macOS supports multiple archive file formats, including RAR and ZIP. Besides this, macOS also offers native tools and supports third-party utilities using which users can conveniently create archive files as well as decompress already compressed ones.
Even though both formats allow users to save storage space, many users prefer ZIP files over RAR files. If you have multiple RAR files on your Mac and are wondering how to turn a RAR file into a ZIP one, there are numerous ways following which you can do so.
For starters, you can use BetterZip, a third-party compression tool that performs exceptionally well when it comes to converting RAR files to ZIP ones. Besides BetterZip, users can also use Archiver, a lightweight macOS utility that can archive and unarchive dozens of formats, including ZIP and RAR.
Reading Suggestions: Best Ps3 Games 2022
Empty the Trash Folder
Every time a user deletes a digital file present on their Mac, it does not get permanently deleted, i.e., it moves to the native Trash folder. However, most macOS users do not know they need to delete files from the Trash folder to get rid of them permanently. The files in the Trash folder occupy storage space; thus, users need to delete them to acquire more free hard drive space.
To permanently delete files from your Mac’s Trash folder, right-click on the Trash icon on your Mac’s Dock and click on the “Empty Trash” option. Once you have emptied the Trash folder, you cannot access the permanently deleted files. Besides this, macOS also provides users the functionality to schedule emptying the Trash folder.
If you wish to activate the functionality, open the “Preferences” section, click on the “Advanced” option and check the box present beside the “Remove items from the Trash after 3 days” option. This option comes in handy for users who delete tons of files and forget to permanently delete them from the Trash folder.
Even though Macs are sturdy devices featuring an exceptional hardware-software combination, users need to ensure that their performance stays top-notch by deleting unnecessary apps and files frequently. If you own a Mac, refer to the aforementioned tricks to clean your Mac’s internal SSD or HDD to experience seamless performance.


